2/12/12
Planning the Layout:
(November 2011)
Over the years I have seen many different track plans and recently found a simple one I like, with some modifications, of course. I found the San Dimas Southern track plan on Model Railroader’s track plan database.
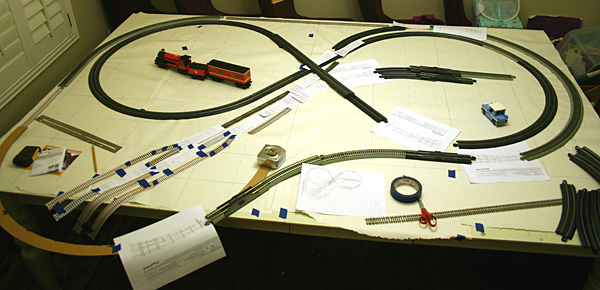
The first modification is to flip it horizontally. That way it will fit into the corner of the room where the rest of the layout will eventually connect to it. That brings up the second modification, adding a couple spots on both ends where the future “rest of the room layout” can connect up to it. Through trains can either go through or loop around this section. This plan shows it being 6×9. I’m changing it to 4×8 with a 2×4 added to it so technically it’s a 6×8, but not really. Another thing is since I hand lay my own turnouts, I decided to make curved crossovers. This will allow me to make it 4×8 instead of 4×9.
Our dinning room table, which is really a work table for many projects, is about 5×8 so I could check out things before having to build a table and see if it was close to what I was thinking it would be like. I laid out paper I had in a roll to cover the table and drew grid lines on it.
One thing I knew I wanted was to make sure the outside was 22″ radius. I have some passenger trains that the minimum is 22″ and in case I wanted to run them either on this or “through” it after it was part of the larger layout, then I could. The figure eight will be 18″ radius. The theme will be mountains and logging so short cars and short trains will work fine.
I had not planned on doing any narrow gauge on this but after seeing what Randy did at the Train Shoppe I knew I needed to. I wanted to see my narrow gauge trains running too! I decided to have the outer loop dual gauge, including the track that runs up and over everything which you can’t see in the plan yet. This will allow the flexibility that when I do add it to the room layout I can have narrow gauge trains running too. This means that I will need to build one of the two turnouts for each crossover as a curved mixed gauge turnout.
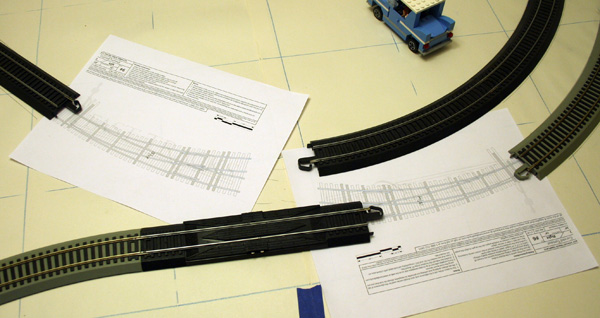
You can see the paper templates I used to see if making curved turnouts for the crossover would work. They are 18″ inside and 24″ outside with a #6 frog. It seemed like I might be taking a little risk but I knew I would be making the turnouts and know the quality of my own work. 🙂
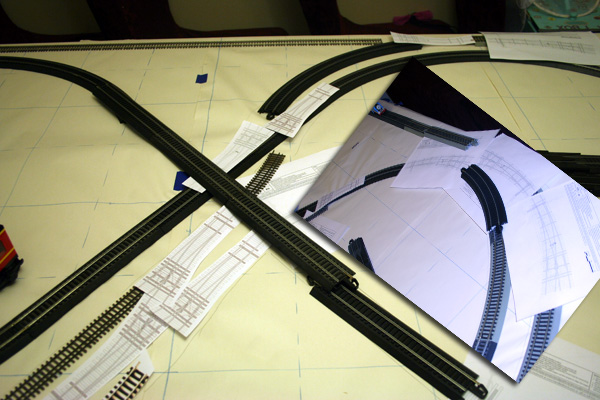
The way the original track plan had the entrance to the yard didn’t make sense to me so I made a change. I also added another crossover to make the trains easier to go in and out of the figure eight if needed. The picture above may be a little hard to tell but it makes the track flow smoother and eliminates a weird extra move to get into the yard from the outer loop.
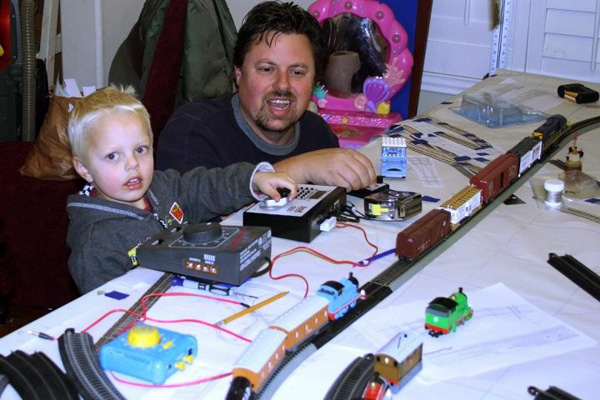
After I got the track how I thought it would work I made a big oval and when my nephew came over we “ran trains!” All my nephews like trains but I think he’s the biggest train nut out of them all, like me! He made Thomas “Go fast!” while I varied the freight train’s speed to get away or let him catch up. It was great fun!
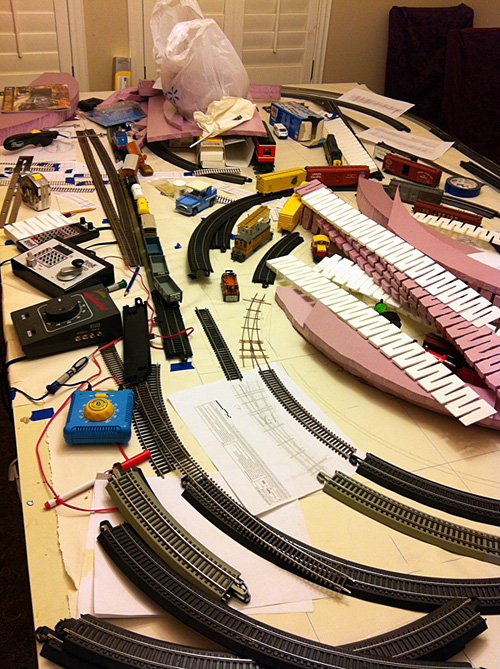
Eventually, the table got full of stuff while planing and creating, getting ready for the “real table.” I cut pink foam like the Woodland Scenics incline risers so I could curve the 1/2″ foam the same way. That was fun but took a long time. Mostly I cut it to the exact radius I needed in small pieces rather than taking the time to do it the other way. You can also see in the picture above the first turnout is built! I am planning for the second and how they will attach together.
Intro <= Previous | Next => Overhead View


